How to: Customizing your Brixton
Remember when inspiration hit you? It stuck and never went away didn’t it? That custom Brixton Motorcycle that you’re riding whilst you make an imprint into your pillow at night doesn’t have to be parked up in your wildest dreams. This is reality calling. This is the look painted across your neighbour’s face as he admires what’s in your driveway. And this is the feeling you get when you nod your head towards your garage and say “done it all myself”… Here’s our crash course on customising your Brixton Motorcycle.
So you’ve given your project the internal green light. This is actually happening. But how is it happening? And where are you going to start?
The Inspiration
When starting any project, the first step is to break things down. Start by clearing space on your garage wall so you can create a blueprint for the project. We’d recommend you fill a lot of that space with inspiration. No doubt about it, you saw a motorcycle design that you just couldn’t get off of your mind, the spark that triggered this whole project. Well, it’s time to get that up on the wall. And any other designs that work with the vision you have floating around in your head. Publications like Built Magazine, and forums like Chop Cult, are great places to start your wall of motorcycling inspiration. With a wall of inspiration in front of you, you should be able to form a rough idea of the motorcycle you’re wanting to build.
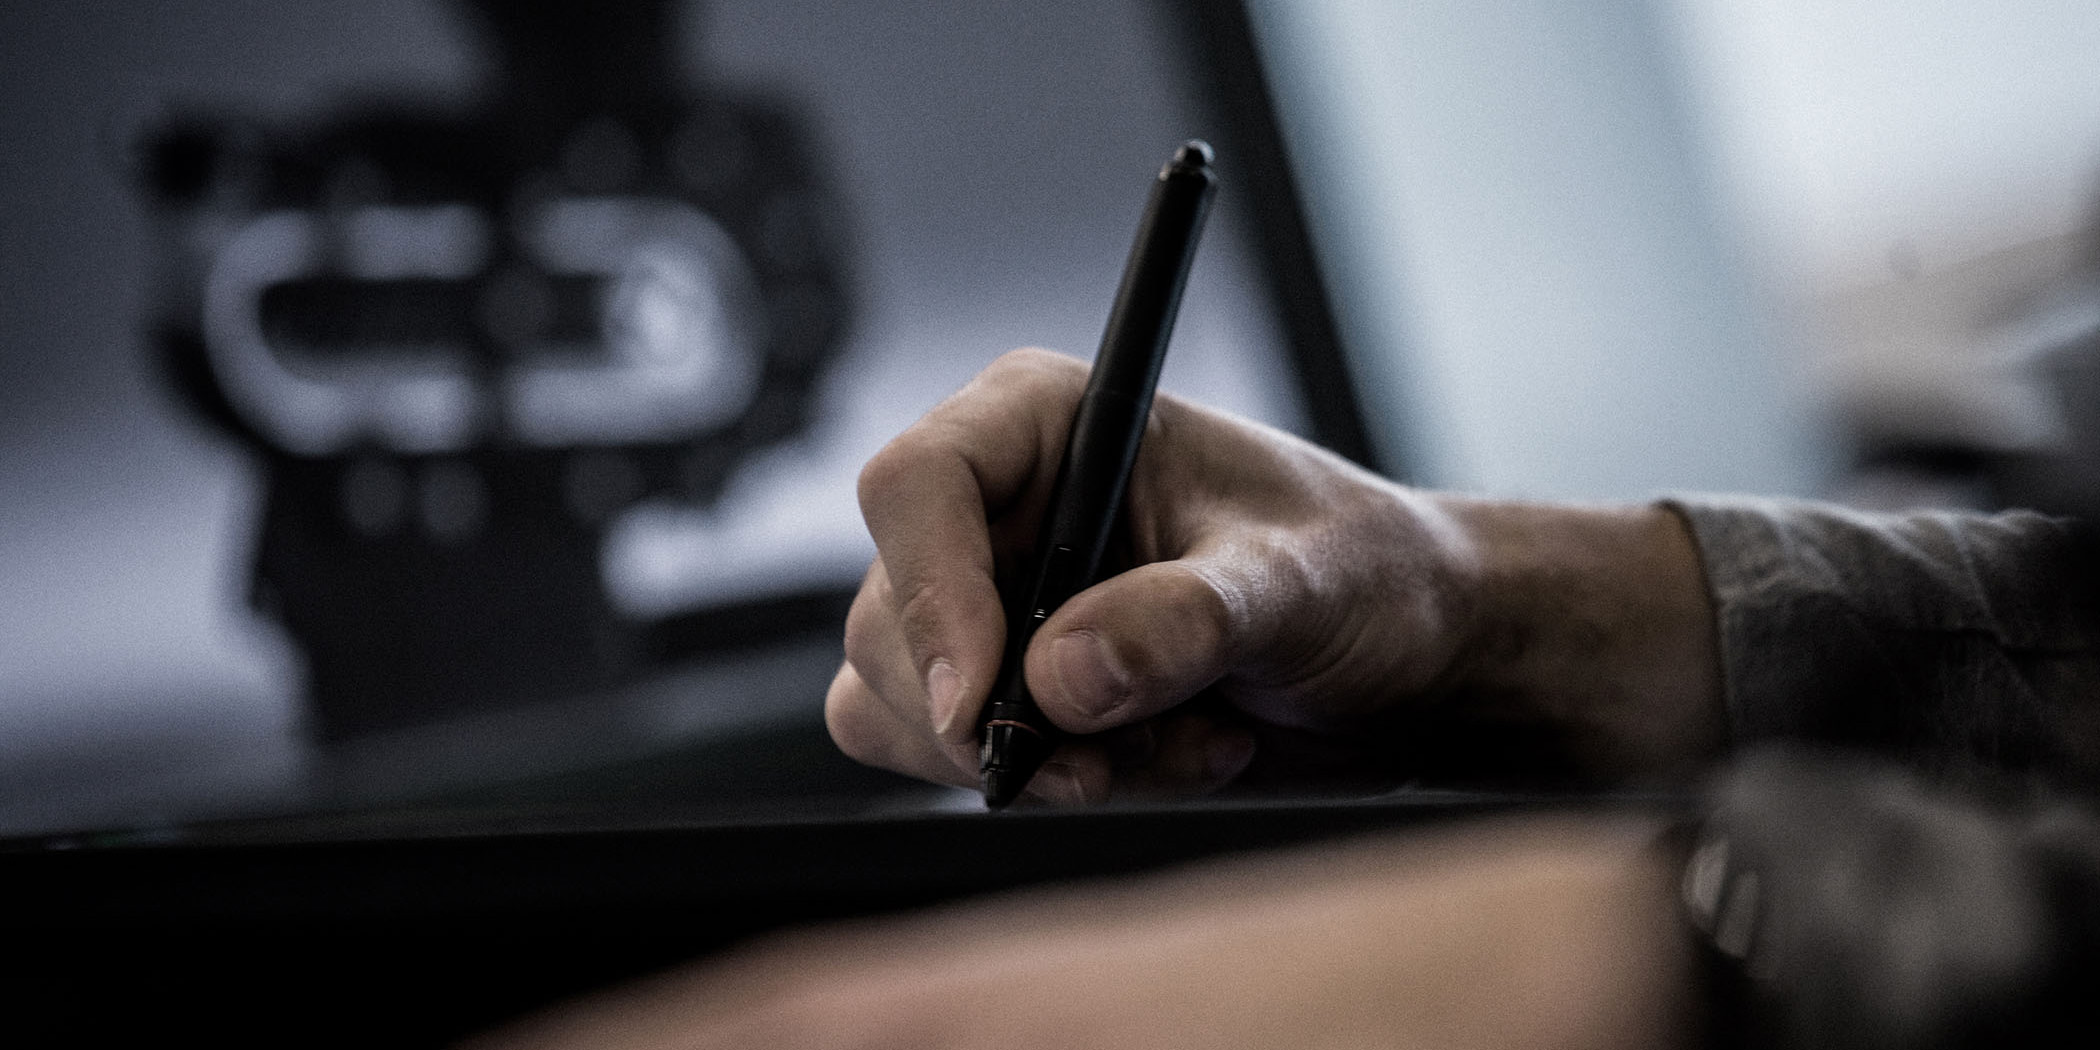
The Design
You’re set on the seat you want, you know what tank you’re going for… Now you need to bring all of these elements together. There are numerous ways you can construct a technical drawing of your motorcycle design. And a quick Google search will help any novice find their way around the many Computer Aided Design softwares out there (trial them first to get a feel for which one you’re most comfortable with). With a software in mind, head over to YouTube and work your way through the many tutorials to get to grips with how to use them. If you’re feeling old-school, you can always sketch your design out by hand, tracing where necessary.
The Workshop
Aka your garage. Before the construction of your motorcycle, you can make life a lot easier by creating a build platform. This will give you easier access working on your motorcycle, and keep you off the cold ground of your garage floor. They’re cheap and simple to build, and you only have to head over to YouTube to find a tutorial. If you’re itching to get stuck into your motorcycle build right away, you can always purchase a platform instead. Try and make your space as comfortable as possible. Give your garage the ‘man-cave’ makeover whilst you’re working on your project. The last thing you want is to be putting things off because you don’t enjoy spending time in your workspace.
The Tools
Now’s a great time to either bolster your arsenal of tools or start building one up. If cavemen learned how to use tools effectively, so can you. First things first, measurements. We’re a European brand and therefore go by the metric system. Depending on where you are in the world, you’ll need to take this into account. There are a few categories of tools that are typically required when taking on a customisation project, these are; sockets, wrenches, screwdrivers and pliers. It’s a good idea to get yourself a starter kit containing numerous different options and sizes, and adding to your collection as and when new tools are required. Avoid purchasing the cheapest options available too. By spending that bit more on your tools they’ll likely last you a lifetime. Again, YouTube is your best friend here for tutorials on the correct way to use them.
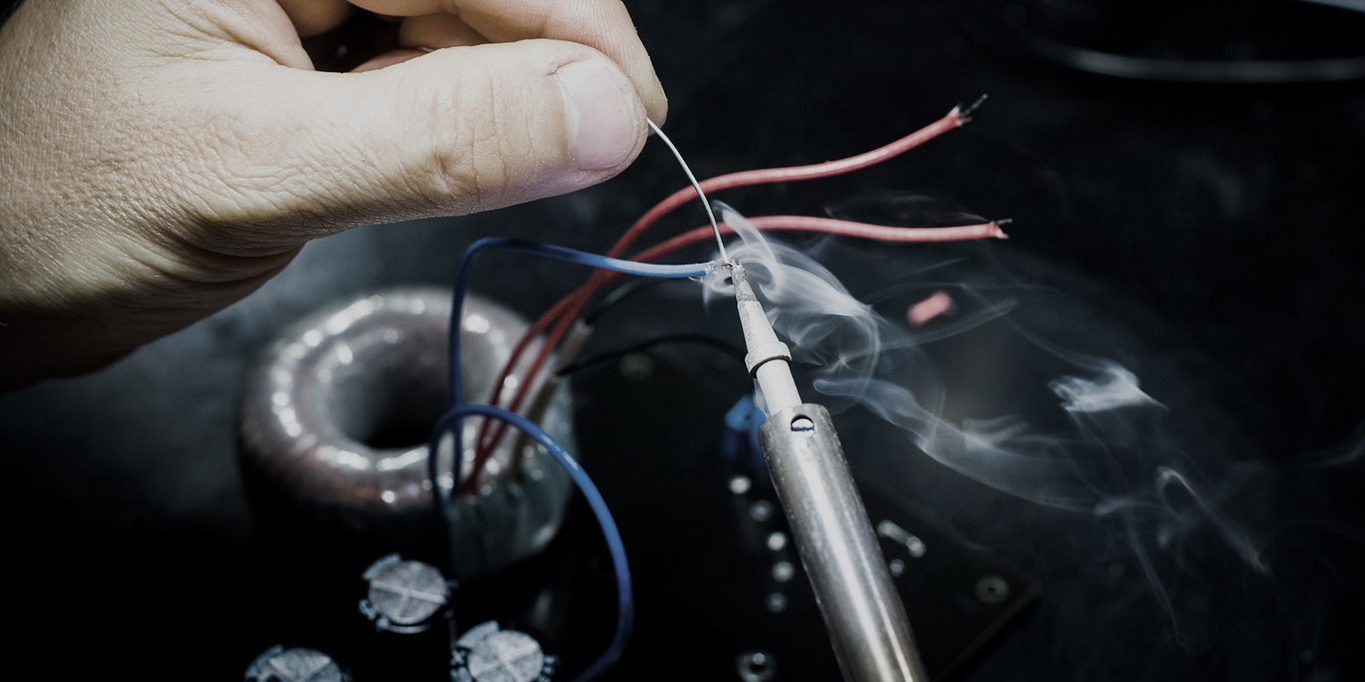
The Electrics
You’re going to want to get as familiar as possible with motorcycling electronics. And one of the best ways to do this is by picking up a copy of Haynes’ Motorcycle Electrical Techbook. This holy grail covers everything from basics to expertise, and will give you an understanding of the tools you’ll require for the different components that make up your motorcycle. By having a copy handy on your workbench, you’ll soon make light work of getting your lights to work (along with all other wiring and electrics that are bound to come your way).
The Metals
It’s back to school science lessons when tackling the metalwork on your custom motorcycle project. You’ll need to get to grips with understanding the correct metals to use on the different elements that make up a motorcycle. A great place to start is Krank Engineering’s blog where he covers the basic properties of metals. You can check that out here.
You’ll be working a lot with aluminium and steels. Lightweight elements of your motorcycle, including the bodywork, fuel tank, and fenders can all be welded using aluminium, whereas your frame would require a much stronger metal like that of steel.
The Benchwork
If you’re not using ‘bolt-on’ parts to create your custom motorcycle, then you’re likely going to be getting very familiar with hacksaws, files and scribes. These are the most common tools required to cut and shape materials into the correct sizes. The more skilled you get at bench-working, the more you’re going to be able to let your creativity run wild and experiment with more testing ideas and designs. With a piece of shaped metal in hand, there are further processes that will need to be undertaken. Cutting it, shrinking it, bending it and drilling into it are just a few, and we’d recommend you practice these before applying them to the piece of metal you’ve spent hours labouring away on.
With parts cut, it’s time to address their final appearance on your motorcycle. Will they be painted? Powder coated? Or polished? Whatever their final appearance, you’ll have to treat the surface accordingly for the correct end result.
After all of this, you’ll have created all of the individual elements that are going to make up your custom motorcycle, and it’s now a case of putting them all together to bring your vision to life, and enjoy your new, one of a kind motorcycle. It’s an incredibly satisfying feeling to take on and finish a custom motorcycle project. There’s always going to be bumps along the way as you get to grips with the individual skills that are required to complete a project of this magnitude. But it’s all part of the journey. And there’s no doubt about it, once you realise the potential at your fingertips from finishing your first custom build, you’ll be back again and again taking your skills to new levels and bringing your next dream to life.
We are curious to see your Brixton Custom! Send us your personal experience and some pictures to marketing@brixton-motorcycles.com and/or tag us in your postings. We are excited!